How to Document Property Damage on Elba: What to Do
Learn how to document property damage on Elba with clear photos, videos, and reports. Useful evidence for prompt intervention, property protection, and future risk reduction.
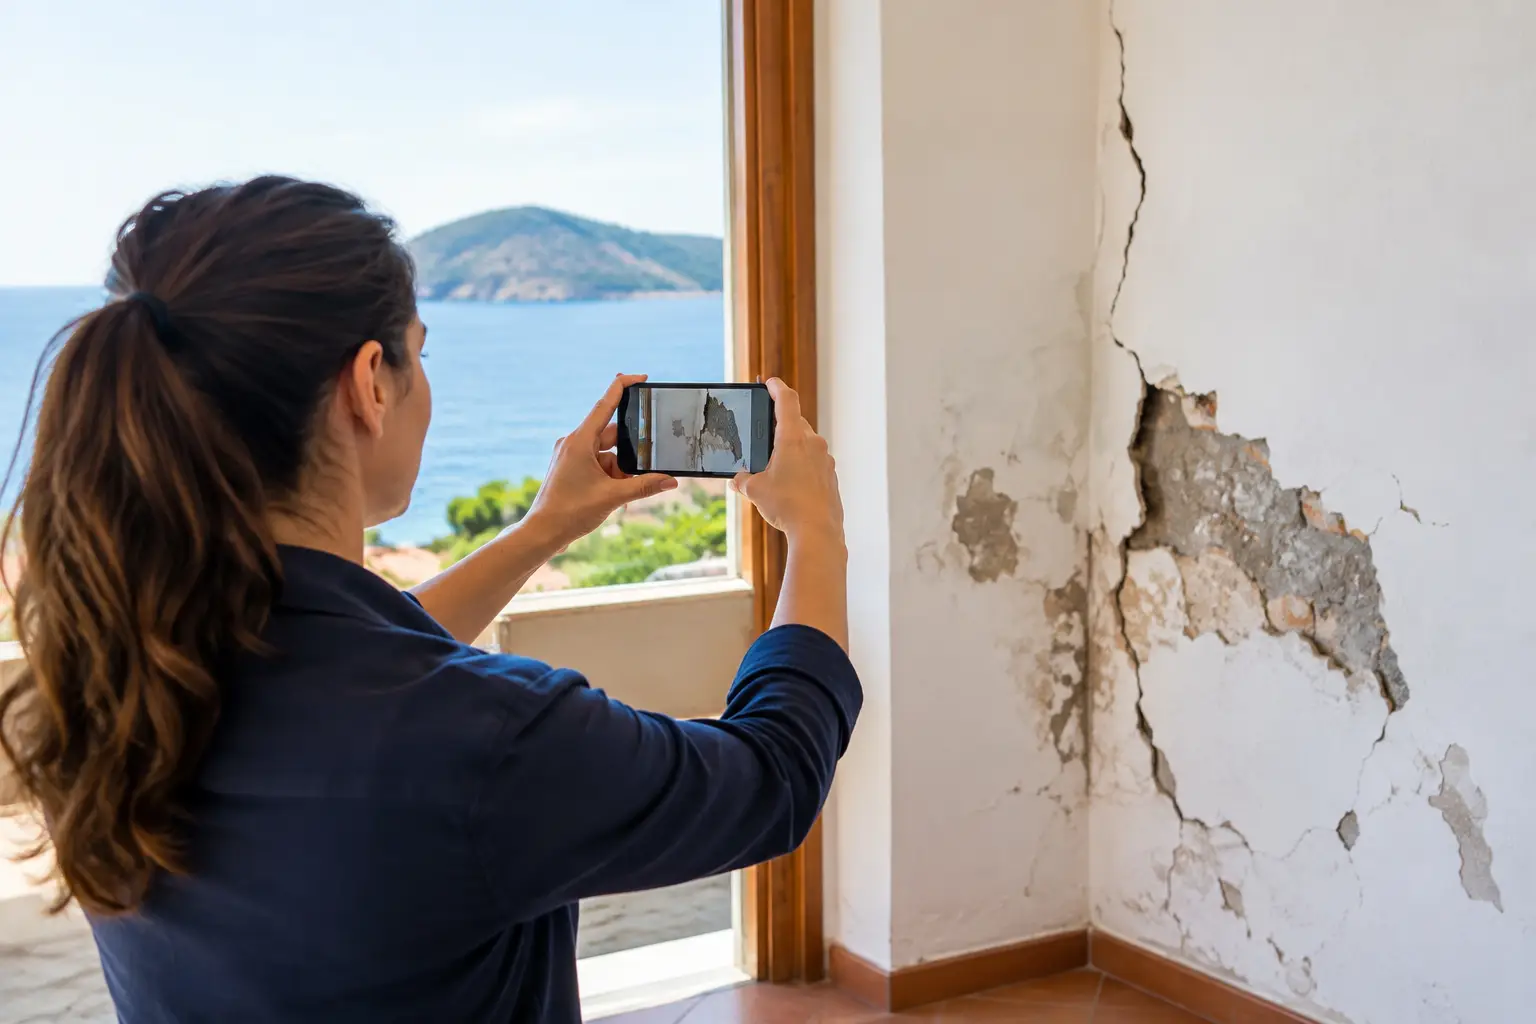
A damp stain appearing on the ceiling, a shutter damaged by the wind, or a leak under the sink can worsen significantly before your next visit. Knowing how to document property damage on Elba allows for quick decision-making even remotely, providing precise instructions to professionals and maintaining a clear timeline of events.
For those who don't live permanently on Elba Island, documentation isn't just an administrative formality. It's the starting point for protecting your property, limiting the extent of the damage, and staying in control when you can't reach your home within a few hours.
Act Before the Damage Changes
The first rule is simple: document immediately, before cleaning, moving objects, or starting any repairs. Timely intervention may be necessary to secure the property, but it should, whenever possible, be preceded by accurate photographs and notes on the observed state.
This is especially true for infiltrations, floods, broken windows, wind damage, attempted break-ins, and system failures. Water can spread a stain in a short amount of time; a fallen branch can compromise an already weakened gutter; a small leak can affect furniture, walls, and floors. The initial condition is the most useful for understanding causes, priorities, and consequences.
If there's an immediate risk to people or the property, securing the area comes first. Shutting off water, isolating a dangerous zone, or protecting an opening exposed to rain is essential. Even in these cases, just a few minutes are enough to capture clear images before and during the intervention.
How to Document Damage to an Elba Home with Effective Photos
Photos are most useful when they show the damage in its context. A close-up of a crack or stain isn't always enough: whoever receives the material must be able to understand where it is located, how extensive it is, and what might have caused it.
It's best to start with a wide shot of the room, facade, or outdoor area. Then move on to intermediate and detailed photographs. For example, when faced with a ceiling leak, it's useful to show the entire room, the stain's position relative to windows or walls, the detail of the damp patch, and any affected objects.
To make the material more readable, photograph:
- the damage from multiple angles, with sufficient light;
- the affected element, such as a pipe, fixture, roof, gutter, or appliance;
- any related traces, such as water on the ground, detached plaster, signs of forced entry, or debris;
- a reference for scale, without covering the damaged part.
Avoid filters, color modifications, and overly compressed images. Keep the originals, as they typically contain useful information about the date and time of acquisition. If you take many photos, rename them systematically once saved: date, environment, and type of problem are sufficient.
For properties exposed to the sea or wind, the external context also deserves attention. Photographing a shutter, a roof, or a garden area along with surrounding elements can help distinguish recent damage from an already existing wear condition. The goal isn't to attribute causes independently, but to provide a concrete basis for those who will need to assess and intervene.
Video Complements, but Does Not Replace, Photographs
A short video is particularly useful for showing an active leak, an abnormal noise from a system, the movement of a roller shutter, or the presence of water in multiple spots. It should be slow and orderly: start from the entrance to the area, show the path, and end with the detail.
Drafting a Brief but Precise Report
Images without explanation leave room for doubt. Every report should be accompanied by an essential summary, written with verifiable facts and not hasty hypotheses.
Indicate the date and time of the inspection, the property address, the person who identified the problem, and the affected area. Then describe what is visible: “presence of water on the kitchen floor under the sink” is more useful than “possible serious leak.” Add, if available, practical information such as the last visit made, recent weather, utility status, or any alarm activation.
It's useful to separate three aspects: what was found, urgent actions already taken, and what remains to be verified. This distinction avoids misunderstandings when different parties intervene at later stages.
For example, a report might indicate that an infiltration was detected in an upstairs bedroom, that the area was photographed and protected, and that a roof inspection is needed. It should not turn into a technical diagnosis if the person performing the check is not qualified to do so.
Preserving Evidence, Documents, and Timelines
The best documentation is that which is easily found. Create a dedicated folder for each incident and collect original photos, videos, inspection reports, communications received, quotes, invoices, and documentation of interventions carried out.
Also add previous images, when available. Photos taken during periodic checks can demonstrate the property's condition before the problem and make it easier to pinpoint when the damage might have occurred. For a second home, this continuity is particularly valuable: weeks or months can pass between stays.
After the intervention, have a second series of images taken. This serves to record both the repair performed and any potential need to monitor the area over time. A wall that has been dried and repainted, for example, does not rule out the advisability of checking later for the possible reappearance of dampness.
For infiltrations from common areas, condominium failures, or situations that may involve other units, also promptly inform the administrator. For structural damage, a compromised electrical system, a roof problem, or an unidentified leak, verification by a qualified technician is indispensable.
The point is to act systematically. First, record; then, limit the risk; then, activate the competent people. In some cases, these phases overlap: if water continues to pour out, you don't wait for perfect documentation to turn off the main tap.
The Value of Local Oversight for Unoccupied Homes
From a distance, a photo sent by a neighbor might signal a problem, but it rarely provides a complete picture. A scheduled check performed by a local contact, however, allows for verification of the entire property, methodical documentation, and monitoring of the case's evolution until it is made safe.
For a villa, holiday home, or empty apartment on Elba Island, the frequency of visits depends on its location, the season, exposure to weather agents, existing systems, and the time elapsed between stays. There isn't a single frequency for all properties.
Elba Property Care supports owners with periodic checks, clear reporting, and local presence when the home requires attention. Having consistent documentation visit after visit means not having to reconstruct everything from scratch when an anomaly emerges.
A well-maintained home isn't just a checked home: it's a home with a precise history. When every visit leaves a trace, even an unforeseen event can be handled with more calm, more information, and faster response times.